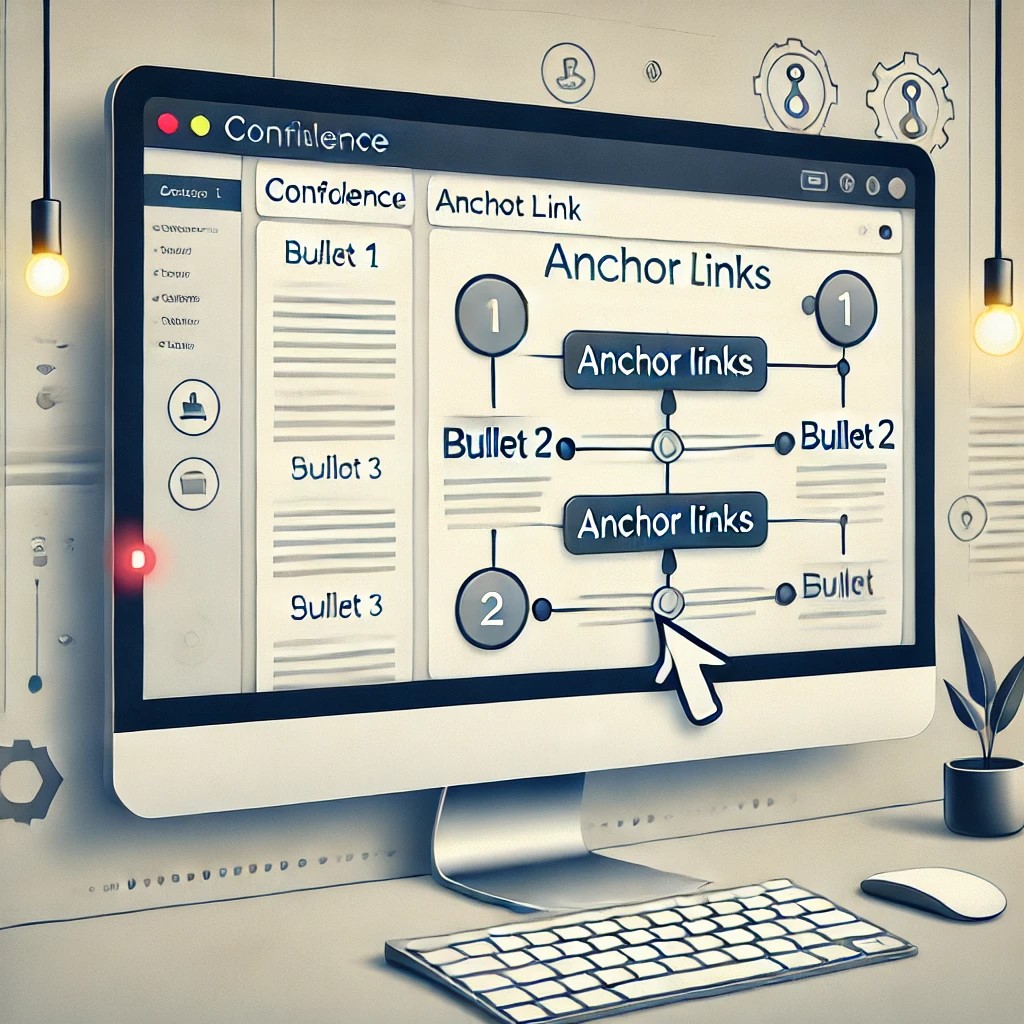
Confluence is a powerful tool for documentation and collaboration, often used alongside Jira. While it is versatile, it’s not always the most user-friendly when it comes to certain editing tasks. One common issue users face is navigating large Confluence pages. Scrolling through lengthy documents can be tedious, but there’s a simple solution: anchor links.
In this blog, we’ll explore how to create and use anchor links in Confluence to enhance navigation and improve the user experience.
What Are Anchor Links?
Anchor links allow users to jump directly to a specific section of a page by clicking on a link. This is especially useful for large documents with multiple sections. If you’re familiar with HTML, you might recognize anchors as a method to link to a specific part of a webpage. Confluence offers a way to achieve this functionality with its built-in tools.
Steps to Create Anchor Links in Confluence
Follow these steps to create anchor links in your Confluence document:
1. Prepare Your Content
Ensure your page has distinct sections or headings. For example:
- Bullet Number 1
- Bullet Number 2
- Bullet Number 3
These sections will serve as the destinations for your anchor links.
2. Insert Anchors
To create an anchor for each section:
- Highlight the heading or section where you want the anchor to be.
- Click on the “Insert” option (represented by a “+” icon or use the forward slash
\shortcut). - Search for the “Anchor” macro and select it.
- Assign a unique name to the anchor (e.g.,
bullet-1,bullet-2,bullet-3).
Repeat this process for all sections you want to link to.
3. Create Links to Anchors
Once you’ve added anchors, it’s time to create links to them:
- Highlight the text you want to turn into a link.
- Press
Ctrl + K(or click the link icon). - Type
#followed by the anchor name (e.g.,#bullet-1). - Repeat this for all anchor links.
4. Publish the Page
After setting up your anchors and links, click on “Publish” to save your changes. Now, clicking on the anchor links will take users directly to the corresponding section of the page.
Example Walkthrough
Let’s say you have the following sections:
- Bullet 1: Content for the first section.
- Bullet 2: Content for the second section.
- Bullet 3: Content for the third section.
You would:
- Add an anchor named
bullet-1to the first section. - Add an anchor named
bullet-2to the second section. - Add an anchor named
bullet-3to the third section. - Create links at the top of the page like this:
Once published, clicking these links will take users directly to the corresponding sections.
Why Use Anchor Links in Confluence?
- Improved Navigation: Makes it easier to jump to specific sections without scrolling.
- Better User Experience: Saves time for users navigating long pages.
- Customization: Allows manual linking without relying on the Table of Contents macro.
Final Thoughts
Creating anchor links in Confluence is a simple yet powerful way to enhance document navigation. While the editing experience in Confluence might sometimes feel clunky, mastering these small tricks can make a big difference. Try implementing anchor links in your next document and see how it improves usability.
We hope this guide has been helpful. If you have any questions or tips of your own, feel free to share them in the comments. Happy documenting!
