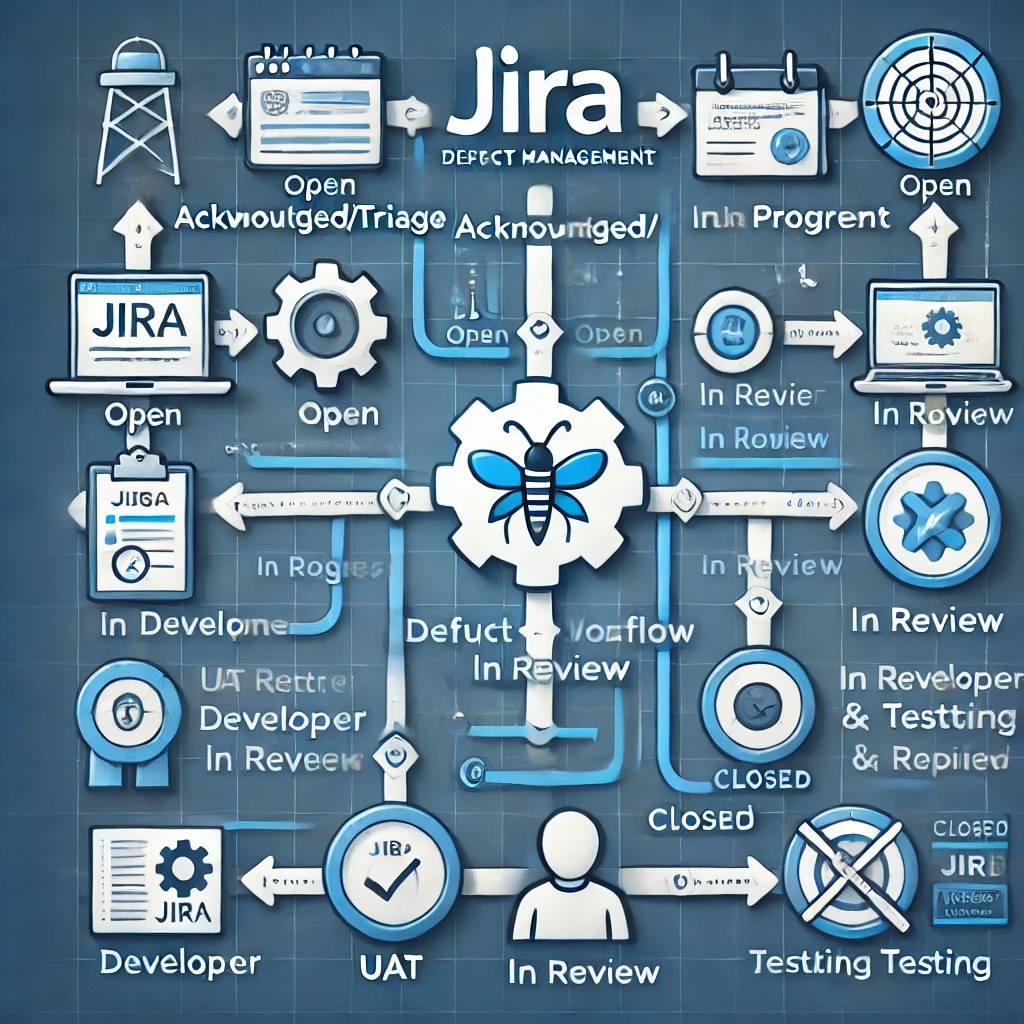
Managing defects efficiently in Jira is essential for maintaining software quality and ensuring smooth issue resolution. A well-defined defect management workflow helps streamline the bug tracking process, enabling teams to identify, triage, and resolve defects efficiently.
One of the most frequently asked questions regarding Jira workflows is:
What is the ideal number of statuses for defect management?
How Many Statuses Should You Use?
Jira allows for highly customizable workflows, meaning there is no fixed rule on the number of statuses required. While Atlassian previously recommended seven statuses, the reality is that workflows should be tailored to fit the needs of each team or organization.
That being said, avoid overcomplicating your workflow. A workflow with too many statuses may slow down progress, while one with too few statuses may lack clarity. If your process requires 10 or even 12 statuses, go ahead and implement them—but only if they truly add value.
A Sample Jira Defect Management Workflow
Below is a structured defect management workflow that can be adapted for Jira. Rather than blindly following a predefined structure, teams should discuss and refine their process based on internal discussions and stakeholder feedback.
1. Bug Creation
- When a new bug is identified, it should be logged in Jira under the "Bug" issue type.
- The bug enters the "Open" status (or "To Do," depending on backlog configuration).
2. Initial Acknowledgment / Triaging
- The bug is reviewed for validity.
- At this stage, teams may decide whether the bug is:
- A valid defect that requires further action.
- A duplicate (transition to "Closed" with "Duplicate" resolution).
- Not a bug (transition to "Canceled" or "Rejected").
- Common status names: Acknowledged, Triage, or Assessment.
3. Accepted and Progress Started
- If the bug is confirmed as valid, it moves to an "Accepted" or "In Progress" state, where the development team begins work on it.
- Depending on the process, teams may create an additional status such as "Replicated" to indicate that the defect has been reproduced.
4. Development and Code Commit
- The bug is actively worked on by developers.
- Teams using GitHub or Bitbucket can automatically transition the bug to "In Progress" when a branch is created.
5. Code Review and Testing
- Once the bug fix is implemented, it moves to the "In Review" state.
- If teams conduct User Acceptance Testing (UAT) for individual bugs, a "UAT" status can be introduced.
- If the fix is rejected during testing, the bug may be reopened and sent back to development.
6. Resolution and Closure
- If the bug passes testing, it transitions to "Resolved" or "Ready for Release."
- Once deployed, the bug moves to "Closed."
- Resolution fields (such as "Fixed," "Duplicate," or "Won't Fix") should always be set for better tracking.
Key Takeaways
- Keep workflows simple but effective—avoid excessive statuses that complicate the process.
- Use triaging stages wisely to decide which bugs need fixing.
- Automate transitions where possible (e.g., when a developer commits a fix).
- Maintain proper closure states to track defects efficiently.
- Iterate and improve—your initial workflow doesn’t have to be perfect.
Jira is a flexible tool, and teams should continuously refine their defect management process rather than spend months debating a "perfect" setup. Start with a basic workflow and modify it as needed!
Let us know—how does your team handle defect management in Jira? 🚀
Video Link :https://www.youtube.com/watch?v=VxXj38kr3oA
